-
 [email protected]
-
 +86-17712471297
[email protected]
+86-17712471297

Content
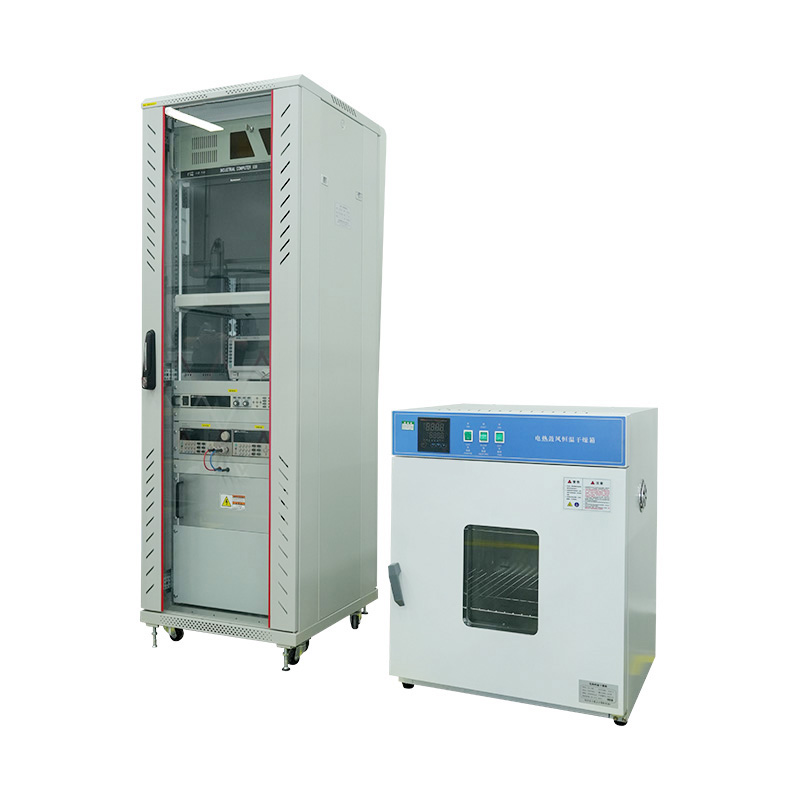
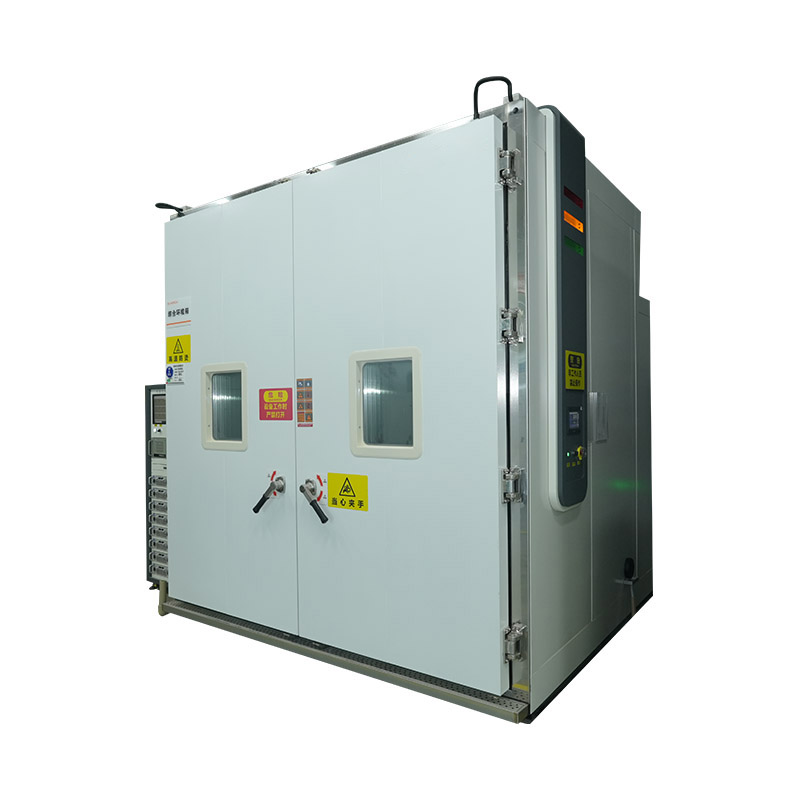
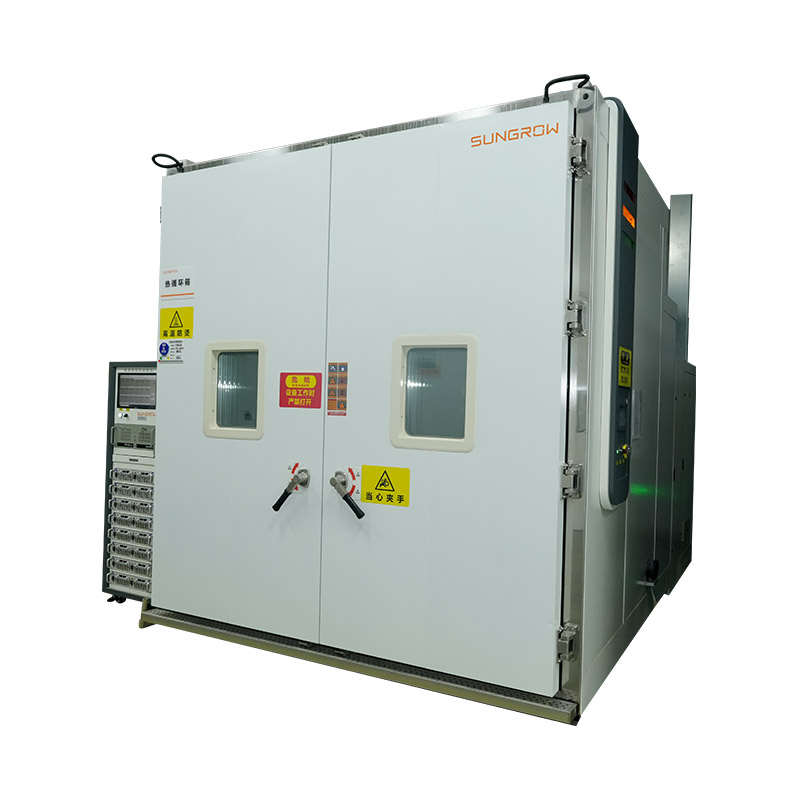
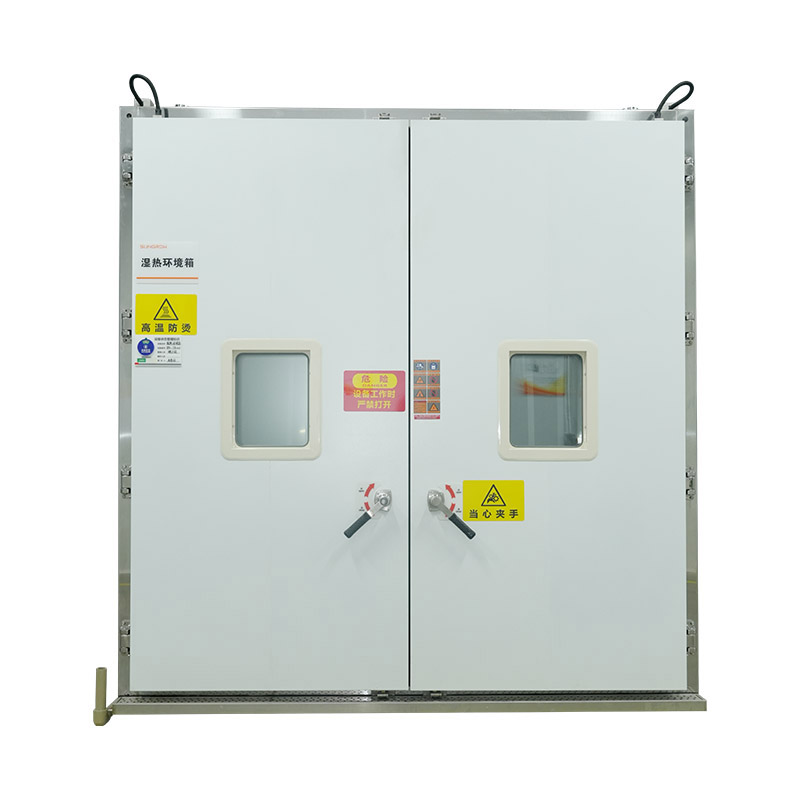
A solar simulation environmental chamber is lab equipment that reproduces sunlight and environmental stress conditions — irradiance, temperature, and humidity — in a controlled setting, allowing manufacturers to test how photovoltaic modules and components perform and degrade over simulated years of outdoor exposure, compressed into weeks of lab testing. Shanghai Houyao Test Equipment Co., Ltd., established in 2012 and operating its own factory in Suzhou since 2017, is one of a small number of Chinese manufacturers specializing in the R&D and production of large-scale environmental simulation chambers and optical simulation equipment for exactly this purpose.
This article covers what solar simulation environmental chambers do at the manufacturing and lab level, alongside practical field-level questions solar panel owners and installers commonly ask: how to check if a solar panel is working, how to test solar panel output, one quick way to evaluate an inverter, and general troubleshooting steps for checking a solar panel in the field. Understanding both ends of the testing spectrum — lab-grade chamber testing and simple field diagnostics — gives a complete picture of how solar equipment reliability is verified from manufacturing through years of real-world operation.
Inside a solar simulation environmental chamber, a controlled light source, engineered to closely match the spectral distribution of natural sunlight, is combined with precise temperature and humidity control to subject photovoltaic modules to accelerated aging conditions. Rather than waiting years to observe how a module degrades under real outdoor sun exposure, manufacturers can compress equivalent stress into a matter of weeks, evaluating power output degradation, encapsulant discoloration, and material stability under conditions that mimic decades of field deployment.
Shanghai Houyao's Performance & Efficiency Testing Equipment line addresses this category directly, alongside complementary chambers under the company's Environmental Durability Testing Equipment range, including UV aging chambers, humidity freeze chambers, and salt mist corrosion chambers, each targeting a different failure mode that solar modules encounter across varied climates and installation environments.
This type of chamber-based testing is what underpins the certification and warranty confidence built into commercial solar panels, since a manufacturer that can demonstrate a module's power output holds up after simulated UV exposure, thermal cycling, and humidity stress has objective, repeatable evidence of long-term reliability, rather than relying solely on limited field data that takes years to accumulate.
The simplest way to check if a solar panel is working starts with a visual inspection during daylight hours, looking for obvious signs like cracked glass, visible discoloration, loose wiring connections, or debris and shading covering part of the panel surface, any of which can significantly reduce output even if the panel technically still produces some power. Checking the inverter display or monitoring app, if the system has one, is usually the fastest next step, since most modern solar installations report real-time production data that immediately flags a panel or string producing noticeably less than expected.
For a more direct check, a basic multimeter can confirm whether a panel is producing voltage and current under sunlight, comparing the reading against the panel's rated specifications printed on its nameplate, keeping in mind that actual output varies with sunlight intensity, angle, and temperature, so a reading somewhat below the rated maximum under partly cloudy conditions doesn't necessarily indicate a fault. A panel producing no voltage at all, or a reading dramatically below expectations even in strong direct sunlight, is a much clearer signal that something is genuinely wrong.
If an individual panel within a larger array seems to be underperforming, comparing its output against neighboring panels under the same lighting conditions is one of the most reliable diagnostic techniques available to a homeowner or technician without specialized equipment, since it isolates whether the issue is specific to that panel or reflects a broader system-level problem like inverter performance or overall shading.
Testing solar panel output accurately starts with using a multimeter to measure both open-circuit voltage, taken with the panel disconnected from the system, and short-circuit current, which together allow a rough estimate of the panel's power output when compared against its rated specifications. Both readings should be taken under strong, direct, unshaded sunlight for a meaningful comparison, since testing under weak or indirect light will naturally produce lower readings that don't reflect the panel's true condition.
For a more precise output test, measuring the panel's actual operating voltage and current while connected to its normal load, then multiplying the two figures together to calculate real-time wattage, gives a working power output figure that can be compared directly against the panel's rated wattage under standard test conditions, adjusted for the actual irradiance level at the time of testing. Many solar monitoring systems and smart inverters calculate and log this figure automatically, removing the need for manual measurement in installations with built-in monitoring.
Consistent underperformance across multiple test sessions, rather than a single low reading, is the stronger indicator of a genuine problem, since a single test can be affected by cloud cover, panel angle relative to the sun, or partial shading that clears up later in the day. Tracking output over several clear-sky days and comparing against the panel's expected performance curve gives a far more reliable picture than relying on one isolated measurement.
One quick way to evaluate an inverter is to check its display panel or connected monitoring app for active fault codes and current power output, comparing that output figure against the combined rated capacity of the solar array connected to it under current sunlight conditions. Most modern string and microinverters log fault history directly, so a quick review of recent error codes often reveals whether an underperformance issue traces back to the inverter itself rather than the panels feeding it.
Listening for unusual sounds, such as a loud buzzing or clicking beyond the inverter's normal, quiet operating hum, along with checking for overheating, indicated by the unit feeling unusually hot to the touch or triggering thermal shutdown warnings, is another fast diagnostic step that doesn't require any specialized tools. Inverters are generally designed to shut down or reduce output automatically when overheating, so repeated thermal shutdowns point toward a ventilation, installation, or component issue worth investigating further.
Comparing DC input voltage from the solar array against AC output voltage delivered to the home or grid connection gives a quick efficiency snapshot, since a properly functioning inverter converts DC to AC with only a small, predictable efficiency loss, while a failing inverter often shows a much larger, inconsistent gap between input and output that points to internal component degradation.
Look for cracked glass, discoloration, loose connectors, or debris and shading covering any part of the panel surface.
Check real-time and historical production data through the inverter's monitoring app to spot underperforming panels or strings.
Measure open-circuit voltage and short-circuit current, comparing readings against the panel's rated nameplate specifications.
Compare suspect panels against neighboring panels under identical sunlight conditions to isolate the source of underperformance.

We value your suggestions and questions. If you have any questions about our products and services, please contact us. We will treat you responsibly and reply to your information as soon as possible.
 Building 14, Chuangjin Industrial Park, Zhitang Town, Changshu City, Suzhou City, Jiangsu, China
 +86-17712471297


 EN
EN
 English
 中文简体
中文简体